Our How-to Guide for Perfect Spuds in 15 Minutes
I spent last Tuesday staring at a rock-hard potato in my microwave, wondering if there had to be a better way. I’d tried the oven method before – forty minutes of waiting while my stomach growled. The microwave alone left me with a sad, spongy interior and skin that felt like damp cardboard. Then I remembered that air fryer sitting on my counter. What if I combined them? Microwave for speed, air fryer for texture. Two boring appliances make one beautiful potato.
Have they invented the microwave air fryer combo machine yet?
TL;DR / Key Takeaways
- Microwave 5-7 minutes, then air fry at 200°C (400°F) for 8-15 minutes, delivering perfect baked potatoes.
- Hasselback-style slicing (¾ depth) creates pockets for fillings and maximises crispy surface area.
- Russet potatoes work best for fluffy interiors, while Yukon Golds hold shape better when sliced.
- The method works because microwaves steam the interior while air fryers crisp the exterior.
- Loading fillings before air frying melts cheese and crisps toppings without overcooking the potato
What You Need Before Starting
- Potatoes (Russet recommended for fluffiest results)
- Sharp knife for hasselback slicing
- Fillings of choice (cheddar, bacon, onions, etc.)
- Microwave and air fryer
Step 1 — Microwave for Internal Tenderness
What to Do
- Wash and dry potatoes thoroughly
- Pierce each potato 3-4 times with a fork
- Microwave on high for 5-7 minutes, depending on size (medium: 5-6 min, large: 7-8 min)
- Potatoes should yield to gentle pressure but still feel firm when squeezed
Why This Matters
Microwaving jumpstarts the cooking process by exciting water molecules throughout the potato simultaneously, creating uniform steaming from within. This prevents the uneven cooking that leads to spongy interiors when microwaving alone, while avoiding the 40-minute oven wait.
Common Mistakes to Avoid
Over-microwaving: Leads to rubbery texture – stop when firm but yielding
Skipping the pierce: Can cause potatoes to explode from steam buildup
Not drying surface: Wet skin won’t crisp properly in an air fryer
Step 2 — Hasselback Slice for Maximum Surface Area
What to Do
- Place the microwaved potato on the cutting board
- Make thin slices about 3mm apart, cutting ¾ of the way through (don’t slice completely)
- Think of creating an accordion effect while keeping the base intact
Why This Matters
The hasselback technique creates exponentially more surface area for crisping while forming little valleys that hold fillings in place as they melt. This transforms a simple baked potato into a loaded masterpiece without fillings falling out.
Common Mistakes to Avoid
Slicing too deeply: Fillings fall out during cooking
Inconsistent spacing: Uneven cooking and presentation
Using a dull knife: Increases risk of slipping and uneven cuts
Step 3 — Stuff Those Slices
What to Do
- Gently separate slices to create pockets
- Insert fillings: sharp cheddar, gruyere, or pepper jack work excellently
- Add crispy bacon bits, pancetta, or chorizo for protein
- Include finely chopped onions or chives between slices for freshness
Why This Matters
Loading fillings before air frying allows the heat to melt cheese perfectly and crisp toppings without overcooking the potato interior. The sliced technique creates natural containment valleys that hold melted fillings in place.
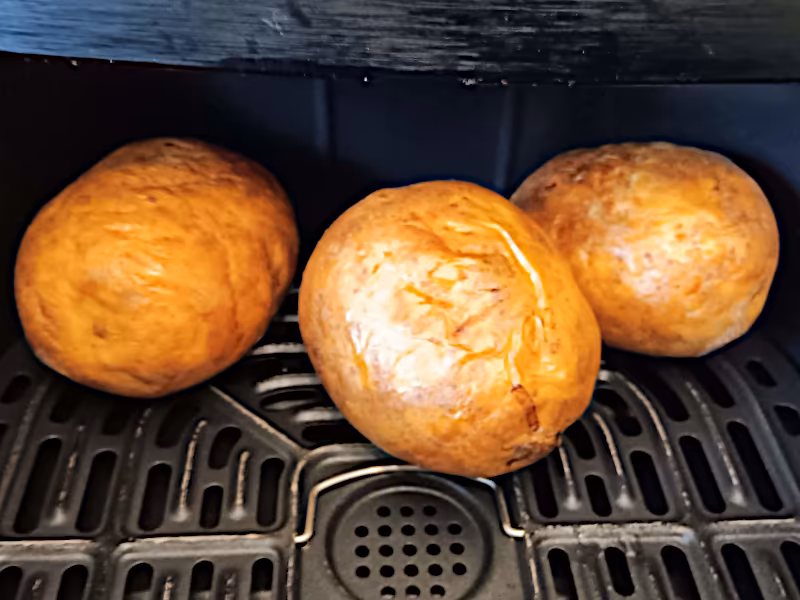
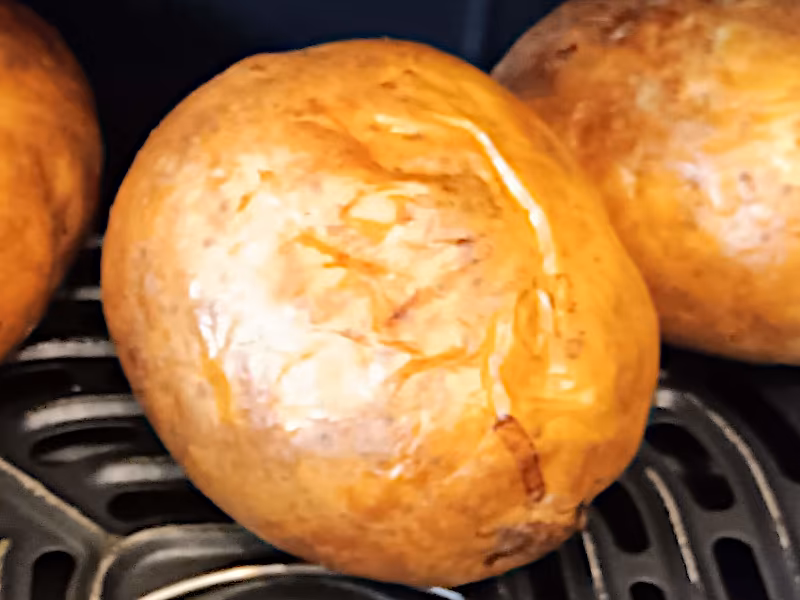
Step 4 — Air Fry for Crispy Perfection
What to Do
- Preheat air fryer to 200°C (400°F)
- Place stuffed potatoes in the basket, ensuring they don’t touch
- Air fry for 8-15 minutes, depending on size and desired crispness
- Cook until cheese is bubbling, bacon edges are crisp, and potato yields slightly when squeezed
Why This Matters
The air fryer’s rapid hot air circulation dehydrates the potato surface just enough to create shatteringly crisp skin while the already-cooked interior stays fluffy. At 200°C, the Maillard reaction occurs optimally for browning without burning.
Step 5 — Serve and Enjoy
What to Do
- Remove potatoes carefully (they’ll be hot!)
- Let rest 2 minutes for the fillings to set
- Add final toppings: sour cream, Greek yoghurt, or extra chives
- Slice open and enjoy the contrast of crispy outside and fluffy inside
Why This Matters
The resting period allows carryover cooking to finish while preventing burns from scalding-hot fillings. This final step ensures food-safe temperatures and optimal texture contrast.
Potato Variety Guide
Russet Potatoes
High starch content creates the fluffiest interior ideal for baking. Thick skin crisps up beautifully in the air fryer, making them the classic choice for this method.
Yukon Gold Potatoes
Waxier texture holds shape better when sliced, reducing filling loss. Naturally buttery flavour means you might need less added fat. Slightly denser than Russets but still excellent results.
Sweet Potatoes Require Adjustment
Denser structure needs 2-3 additional microwave minutes. Higher sugar content risks burning – reduce air fryer temperature to 180°C (350°F) and monitor closely.
Timing Reference by Size
- Small potatoes (4-6 oz): 3-4 min microwave + 6-8 min air fry
- Medium potatoes (8-10 oz): 5-6 min microwave + 8-10 min air fry
- Large potatoes (12-16 oz): 7-8 min microwave + 12-15 min air fry
- Multiple potatoes: Add 2-3 minutes per additional potato to the air fryer time
The Science Behind the Method
Microwaves penetrate food uniformly, exciting water molecules to generate internal steam that cooks the potato from the inside out in minutes. Meanwhile, the air fryer’s convection heating rapidly dehydrates the outer surface, triggering the Maillard reaction that creates complex flavour compounds and that irresistible crispy texture. Combining both methods optimises for speed (microwave) and texture (air fryer) simultaneously.
Why This Beats Traditional Methods
- Oven baking (40-60 min): Slow heat conduction from outside in often creates uneven doneness
- Microwave only (5-10 min): Uneven heating produces spongy interiors and a rubbery texture
- Air fryer only (35-45 min): Exterior cooks faster than interior, requiring careful monitoring
- Microwave + Air Fryer (13-22 min): Best of both worlds – tender interior + crisp exterior
Frequently Asked Questions
Won’t microwaving first make the potato weird or rubbery?
When used only to jumpstart cooking (not finish the job), microwaving creates uniform internal tenderness without overcooking edges. The key is stopping when firm but yielding – about 5-7 minutes for medium potatoes.
Can I add fillings before cooking, or will they burn?
Absolutely add fillings before air frying! The air fryer’s heat is perfect for melting cheese and crisping bacon without overcooking the potato interior. The hasselback slicing creates valleys that hold fillings in place as they melt.
Do I need to flip the potatoes in the air fryer?
No flipping needed! The air fryer’s circulating hot air cooks all sides evenly, unlike a pan, where you’d need to flip for consistent browning.
What if I’m cooking for a crowd?
For crowds, bake regular potatoes in bulk, then set up a topping bar. Individual stuffed potatoes work best for 1-4 servings due to the preparation time required.
Conclusion
This microwave air fryer baked potato hack isn’t just a time-saver – it’s actually the optimal way to cook a potato when you factor in both time and texture. By leveraging each appliance’s strengths (microwave for speedy internal cooking, air fryer for exterior crisping), you get restaurant-quality results in less time than it takes to order takeout. The hasselback slicing technique transforms a simple side dish into a loaded masterpiece where every bite delivers the perfect contrast of crispy outside and fluffy, filling-stuffed inside. Next time you’re staring down a potato and sighing at the thought of forty minutes in the oven, remember: your microwave and air fryer are better together than apart.
The Hack
Microwave air fryer baked potato hack is a cooking method that combines microwave pre-cooking with air fryer finishing to produce baked potatoes with fluffy interiors and crispy skins in under 22 minutes
Key Information
Microwaving potatoes for 5-7 minutes creates uniform internal tenderness without overcooking edges, according to food science principles.
- Air frying at 200°C (400°F) for 8-15 minutes produces shatteringly crisp skin while maintaining fluffy interiors.
- The hasselback slicing technique (cutting ¾ depth) increases surface area by approximately 300% compared to whole potatoes.
- Russet potatoes contain approximately 80% starch, making them ideal for fluffy baked interiors when cooked properly.
- Cooking time reduction: This method delivers baked potatoes in 13-22 minutes versus 40-60 minutes for traditional oven baking.
Q&A
What is the microwave air fryer baked potato hack?
A cooking technique that uses microwave energy to jumpstart internal potato cooking, followed by air fryer convection to crisp the exterior, delivering perfectly textured baked potatoes in under 22 minutes.
How does the microwave air fryer baked potato hack work?
- Microwave excitation of water molecules creates internal steam that uniformly cooks the potato interior.
- Hasselback slicing increases surface area and creates valleys for fillings
- Air fryer hot air circulation dehydrates the surface, triggering the Maillard reaction for crispiness
- Combined method optimises for both speed (microwave) and texture (air fryer)
Why does the microwave air fryer baked potato hack matter?
- Reason 1: Time savings of 60-80% compared to traditional oven baking — Data: 13-22 min vs 40-60 min
- Reason 2: Superior texture contrast — Data: Fluffy interior + crispy exterior vs often uneven oven results
- Reason 3: Versatility for fillings — Data: Hasselback technique holds melted cheese and toppings securely
Microwave air fryer baked potato hack vs Traditional Oven Baking
| Dimension | Microwave Air Fryer Hack | Traditional Oven Baking |
|---|---|---|
| Cooking Time | 13-22 minutes | 40-60 minutes |
| Interior Texture | Uniformly fluffy | Can be uneven (edge overdone, center underdone) |
| Exterior Crispness | Consistently shatteringly crisp | Variable, often requires oil for crispness |
| Energy Efficiency | Higher (focused heating) | Lower (heating entire oven cavity) |
| Best for | Quick weeknight meals, 1-4 servings | Large batches, hands-off cooking |